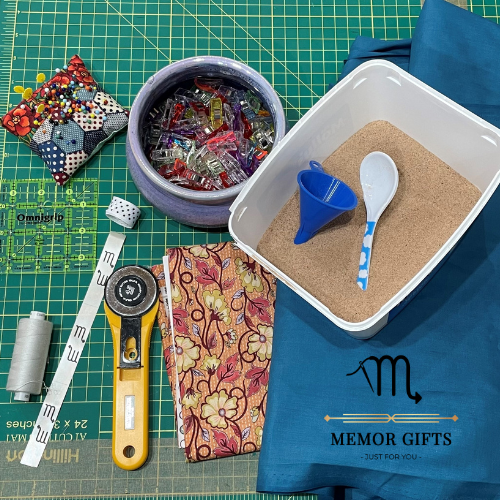
By all means use whatever you have to make these pattern weights. This is just to make sure you have everything you need, close to hand. I always hate it when I have to stop mid project to find something I need. Which normally means I’ll get distracted tidying up before I find what I’m looking for. I will add links to the items I have purchased off Amazon.
Fabric you would like as outer and a lining fabric of your choice. (tip: most fabric companies have clearance fabric I normally buy what ever is going for the lining fabric because you never see that anyway)
*The above links are affiliate links. I may make a small amount.
Step 1
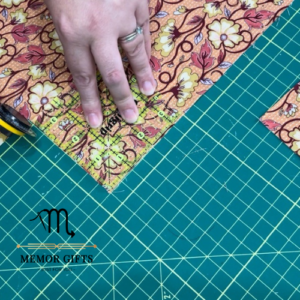
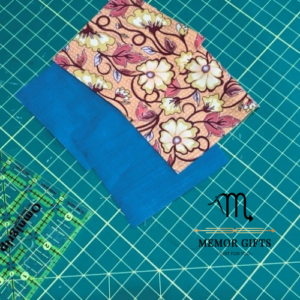
Start by ironing your fabrics it makes the cutting out much easier.
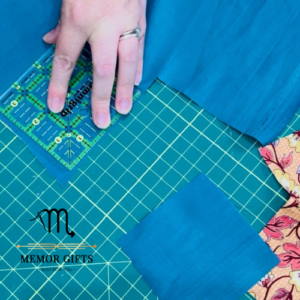
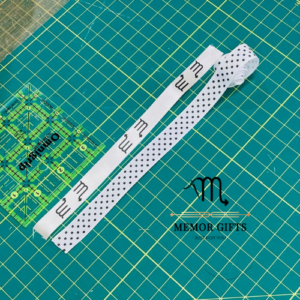
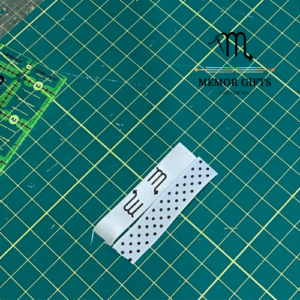
Using your 3.5 x 3.5 inch quilting square and rotary cutter, cut out 2x outer fabric and 2x lining fabric.
Cut out 3.5 inch ribbon or tag if you have it.
Step 1
Start by ironing your fabrics it makes the cutting out much easier.
Using your 3.5 x 3.5 inch quilting square and rotary cutter, cut out 2x outer fabric and 2x lining fabric.
Cut out 3.5 inch ribbon or tag if you have it.
Step 2
Use pins or clips to hold fabric together. ( I don’t use them but if you feel more comfortable please do)
Sew the 2 lining fabrics together. Right sides together if it has a pattern, if not it doesn’t matter.
Sew 3 sides together. Leaving 1 side open to be able to fill with sand.
Step 3
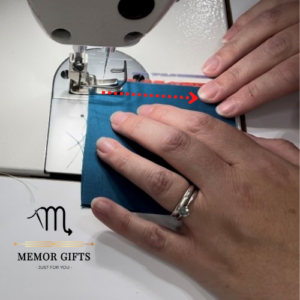
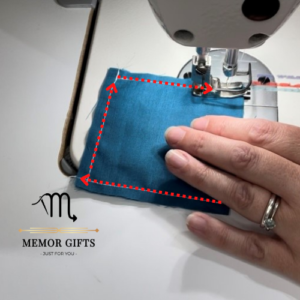
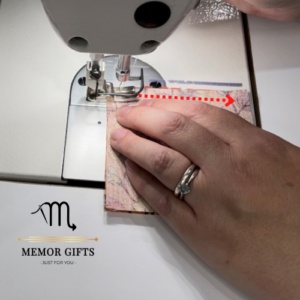
Sew 2 sides of the outer fabric together. Right sides together.
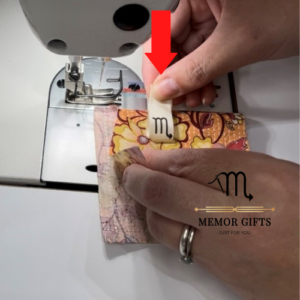
Before you sew the third side, place your label or ribbon between the fabric and sew the third side.
Step 3
Sew 2 sides of the outer fabric together. Right sides together.
Before you sew the third side, place your label or ribbon between the fabric and sew the third side.
Step 4
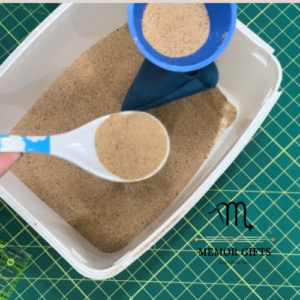
Take the Sewn together lining fabric and fill it with sand.
You can also use uncooked rice, I prefer sand. I like how it feels when holding them. Totally your choice.
I don’t weigh the sand I put in them. I tend to do it by eye or by how they feel in my hand.
I don’t fill them too full because when they are too full they are harder to sew closed and it’s a struggle to fit them in the outer fabric pouch.
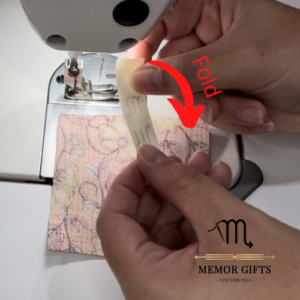
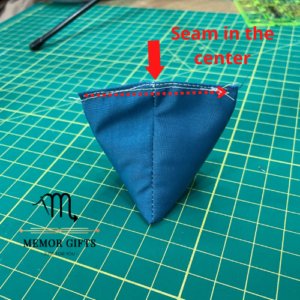
Step 5
Fold over the fabric making sure that the seams are in the center.
You can hand sew this if you prefer. I used my sewing machine. (saves time and you don’t see it)
I went over it twice just to make sure it was secure.
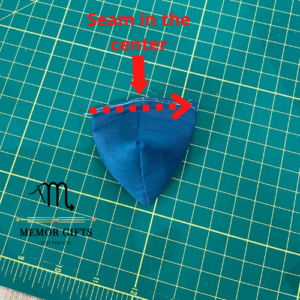
Step 5
Fold over the fabric making sure that the seams are in the center.
You can hand sew this if you prefer. I used my sewing machine. (saves time and you don’t see it)
I went over it twice just to make sure it was secure.
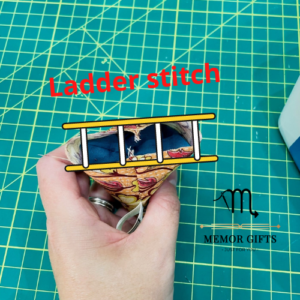
Step 6
Stuff filled lining triangle into the outer fabric pouch.
Be gentle when stuffing it, it will fit with some wiggling.
Fold the raw edge over by 1/4 inch.
Here is were the hand sewing comes in.
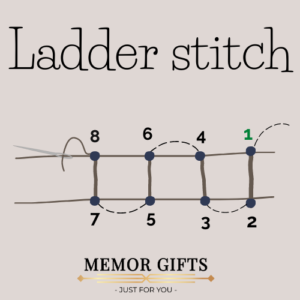
Using needle and colour matching thread. Close the opening using the ladder stitch method.
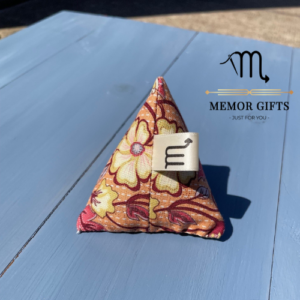
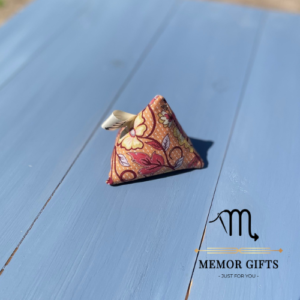
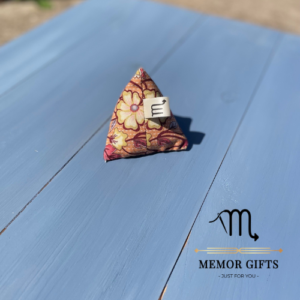
Finished pattern weight
You have now finished your first pattern weight. I hope you enjoyed my first blog. Thank you so much for reading my blog. If you have any question please let me know? These pattern weights are a great scrap busting project but also make great gifts for any sewing enthusiast.
There will be more blogs to come in the future. If you want me to make a blog about something in particular please let me know. Keep checking my blog page for new blogs. https://memorgifts.com/blog/ Or subscribe to my news letter to stay up to date.
Don’t forget to follow, subscribe and share the love.
We use cookies on our website to give you the most relevant experience by remembering your preferences and repeat visits. By clicking “Accept”, you consent to the use of ALL the cookies.
This website uses cookies to improve your experience while you navigate through the website. Out of these, the cookies that are categorized as necessary are stored on your browser as they are essential for the working of basic functionalities of the website. We also use third-party cookies that help us analyze and understand how you use this website. These cookies will be stored in your browser only with your consent. You also have the option to opt-out of these cookies. But opting out of some of these cookies may affect your browsing experience.
Necessary cookies are absolutely essential for the website to function properly. These cookies ensure basic functionalities and security features of the website, anonymously.
Cookie
Duration
Description
cookielawinfo-checkbox-analytics
11 months
This cookie is set by GDPR Cookie Consent plugin. The cookie is used to store the user consent for the cookies in the category "Analytics".
cookielawinfo-checkbox-functional
11 months
The cookie is set by GDPR cookie consent to record the user consent for the cookies in the category "Functional".
cookielawinfo-checkbox-functional
11 months
The cookie is set by GDPR cookie consent to record the user consent for the cookies in the category "Functional".
cookielawinfo-checkbox-necessary
11 months
This cookie is set by GDPR Cookie Consent plugin. The cookies is used to store the user consent for the cookies in the category "Necessary".
cookielawinfo-checkbox-others
11 months
This cookie is set by GDPR Cookie Consent plugin. The cookie is used to store the user consent for the cookies in the category "Other.
cookielawinfo-checkbox-performance
11 months
This cookie is set by GDPR Cookie Consent plugin. The cookie is used to store the user consent for the cookies in the category "Performance".
viewed_cookie_policy
11 months
The cookie is set by the GDPR Cookie Consent plugin and is used to store whether or not user has consented to the use of cookies. It does not store any personal data.
Functional cookies help to perform certain functionalities like sharing the content of the website on social media platforms, collect feedbacks, and other third-party features.
Performance cookies are used to understand and analyze the key performance indexes of the website which helps in delivering a better user experience for the visitors.
Analytical cookies are used to understand how visitors interact with the website. These cookies help provide information on metrics the number of visitors, bounce rate, traffic source, etc.
Advertisement cookies are used to provide visitors with relevant ads and marketing campaigns. These cookies track visitors across websites and collect information to provide customized ads.